
Here's the finished project:

Folded over, slice a neck line, rolled hem on the edges, & sew up the sides to make a butterfly-wing thingy sort of side seam.
Simple, right?
Right?
I was telling a sewing friend about the issues I encountered in the process, and we discussed the problems with self-drafting a piece. For me it's not so much about fit, or even figuring out how to do a step (although those DO present issues) - it's more about the sequence of when to do step 1, step 2, etc....
In this case I cut a boat neck slit for the neck - I had made a muslin to figure out the size & shape of the cut - no problems there. Then I got all wrapped up in how to do the binding and have it lay neatly at the corners where the neck line made a sharp V. When I finally figured out exactly how I wanted to do it, and started sewing it up (by machine) I panicked when it started the dreaded binding bunching...you know, those tiny little folds in a poorly made binding.... and realized I'd left out the Very Important Step of grading and clipping the curve.
:::sigh:::
If I'd been following a pattern - even one with minimal instructions that just said "bind the neckline" I would have clipped that seam, but because I was focused on something else...well...I ended up sticking my tailor points into the binding and clipping as I sewed. I do not recommend this, but at least it worked, and I have a nice flat neckline :).
I did a rolled hem on the side edges with my trusty vintage Singer 101 and the rolled hem foot. I'm fairly confident in my friendship with this foot by now, and ended up with a pretty nice finish there.
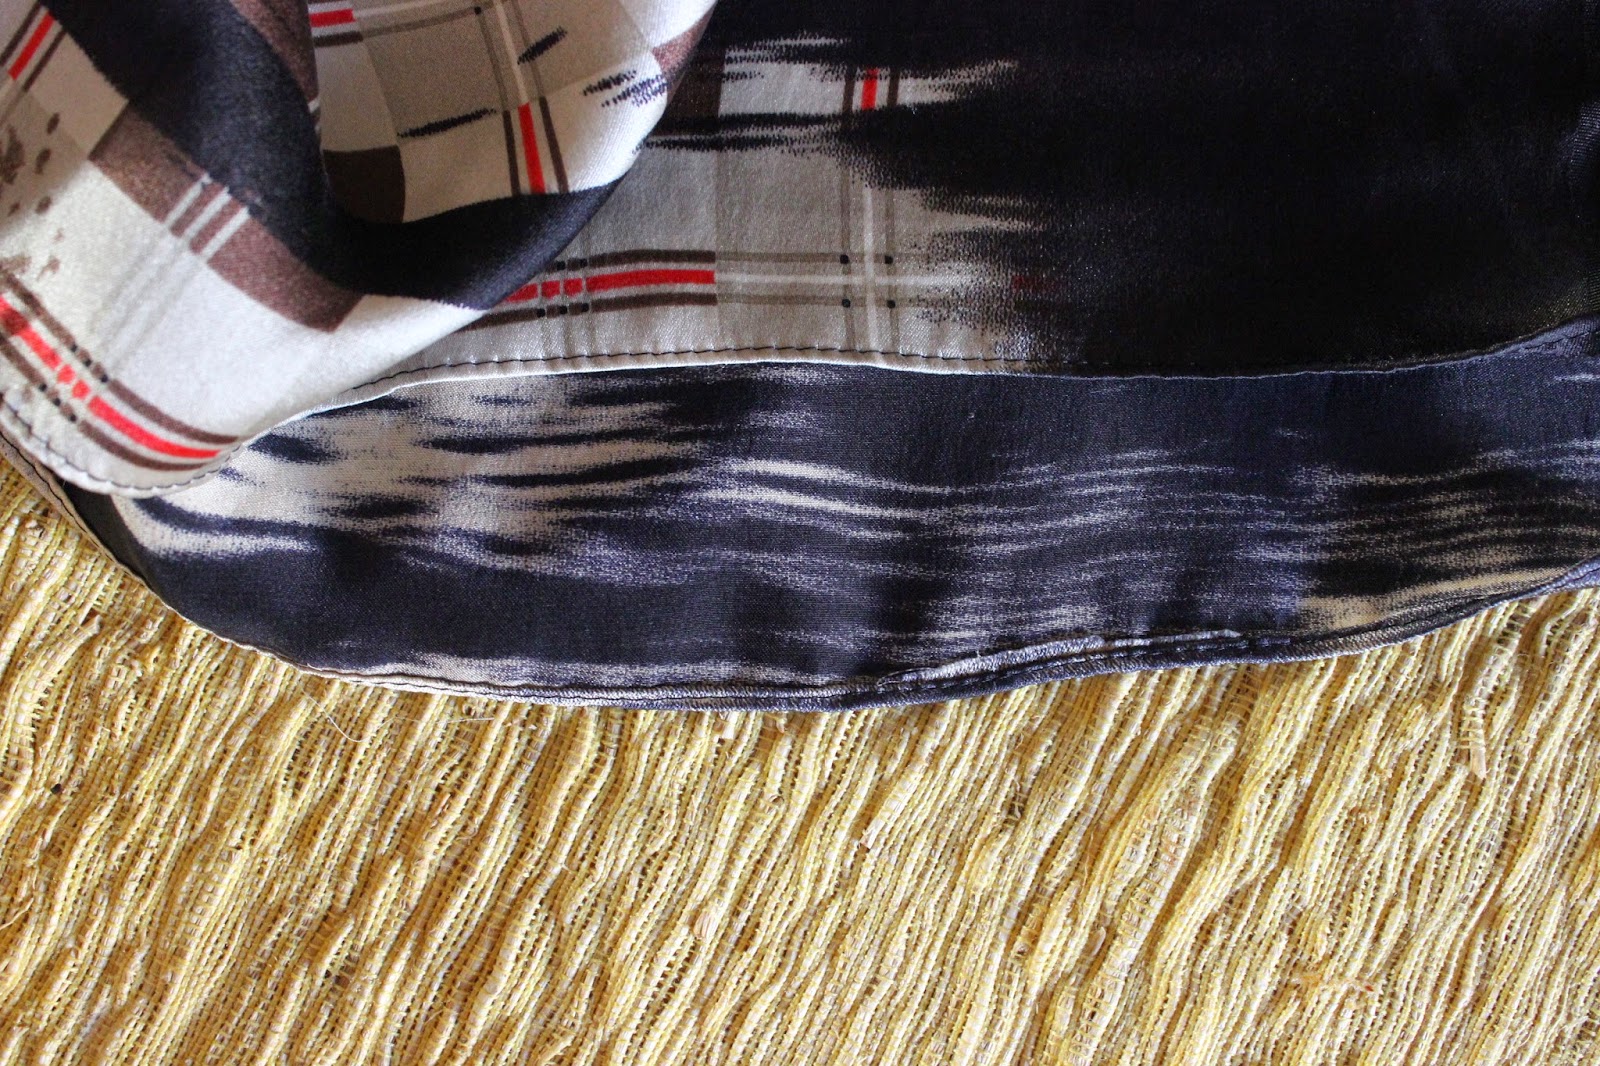
For the side seams, I sewed a straight stitch from hemline to a point just high enough to hide any bra peek-a-booing, about 5" in from the rolled hem edges. The bottom hemline was the selvedge, front and back, so I let it be.
I probably cut a total of 6 sq. inches (give or take) from the neckline; otherwise every bit of the fabric was used!


One of the most important parts of the process in the making of this top was enlisting the vision of sewing friends. A group of us got together with a topic of bringing a problem fabric to share and get help on - something we just didn't know what to do with. I knew I didn't want a scarf from this fabric (that would be too easy), and the collective creative minds of my sewist friends came up with the idea of this simple tunic top with the butterfly sides. They nailed it, don't you think? Very thankful that I'm in a community with so many helpful, creative, and talented sewing friends!
I leave you with today's fortune cookie. Because I like it. :)

What are your issues and/or tips with self-drafting your own pieces? Or if you are a pro at it, what sort of guidance would you give those of us who venture there occasionally?
Happy Labor Day, all, and I hope you all had a taste of what nature has to offer this weekend. :)

Lovely top, and absolutely stunning fabric! Looks like a winner to me and I think you hit the nail on the head with step sequence in self drafting. I always have a mild level of anxiety that goes with making something I've drafted or hacked to smithereens myself. I never pin pointed what it was, but I think it might be that...forgetting to do something in the right order because it isn't written down before me, and then having to problem solve a potential disaster. Of course, I could just do a muslin and write down the steps first...but that really isn't me ;-)
ReplyDeleteHee hee....we're cut from a similar cloth (such as it were). I will write down the steps for something ultra complex, but something that SHOULD be very straightforward? Eh.
DeleteLove the way the fabric came out. I can see why steps can be overlooked when no guide sheet as you are concentrated on the parts that "are yours'. What is worse is when the steps are read from a guide sheet and are overlooked! That would be an "oops, time to go down to beginner level' moment.
ReplyDeletelol touche!
DeleteSo fabulous, Jillian! I was present when we discussed how you might use this, and this is exactly what I envisioned, except that it's SO MUCH COOLER! You look so beautiful!
ReplyDeleteI realized a bit ago that I had meant to say something about the vision of helping friends who saw this top for me....need to go back & edit because that was a crucial part of the process!
DeleteAbsolutely beautiful fabric which you put to great use. It looks fabulous on you as well. And sewing friends are the best aren't they with feedback and solutions.
ReplyDeleteThank you Sigrid :) And yes indeed, sewing friends ARE the best!
DeleteThis fantastic blouse highlights not only your beauty, but your creativity. It's wonderful!
ReplyDeleteAwww... *blush* You are too sweet!
DeleteLovely! That's a great use of a fabulous fabric. Also nice to see that this style is flattering. I've seen it on thin thin models and wondered how it would look on a person whom I'd seen in other garments so I have some body perspective.
ReplyDeleteThat's the problem with making your own - you can't try it on ahead of time to recognize that you still are not one of those thin thin model types!
DeleteBeautiful! Such a great way to use a gorgeous fabric to its utmost, letting its glory sing! You always look fabulous, but this top is especially flattering to you and you look like you love wearing it (as you well should). You've really been turning out some awesome pieces!
ReplyDeleteThank you Marcy - I'm basking in these compliments!
DeleteSo lovely you look like you could just take flight!!!! The fabric reminds me of the red-winged blackbirds we have here up north. Did you measure up from both hems to decide where the neck slit would be...like more length in the back or more in the front, or just make it even Steven? If the fabric was 45 inches wide did you make your side seams like 3 inches in from the edge?
ReplyDeleteThe fabric was a little less than 1 yard (the selvedge ended up at the bottom hemline, front and back; so the cross grain is up vertical.) I sewed the side seams 5" in from the edges.
DeleteFor the neck, I scooped out the front a bit more than the back - I could have gone a tad lower on the front, but I didn't want to risk a bra line showing (I'm just not that generation lol)!
Oh Jilly...I love love LOVE that "butterfly" top!!!!!!! The fabric is beautiful...in fact the simplicity of the top really showcases the print. You look beautiful, like free and happy. I do have to make one!!! Or two. AND learning from you...I'll grade and clip the neck curve. :)
ReplyDeleteThank you Judi :). Glad to make my mistakes for the benefit of others.... ;-)
DeletePretty and flowey (which I doubt is a word) - just perfect!
ReplyDeleteFlowey is definitely a word in my vocabulary! (One of my favorites, in face) ;-)
DeleteVery smart use of this gorgeous fabric. The top looks really nice on your figure. A beautiful make!
ReplyDeleteThanks Dixie! :)
DeleteLove this fabric and it is perfect for this top!
ReplyDeleteBeautiful top! The fabric suits the design very well. So many pieces of knowledge are needed to pull something together. It's great you have friends for back-up.
ReplyDeleteYou look gorgeous! And the perfect choice for such a lovely fabric!
ReplyDeleteBut I know exactly what you mean about thinking 10 steps ahead in the construction of your own design. I love making changes to garments, but it is a challenge. Then again, that is part of the fun, right?!
Gorgeous! I could see that top selling for a lot of money in a frou-frou store but it's even more fabulous that it is your, one-of-a-kind creation. And it so suits you too. You look lovely in it!
ReplyDeleteThis is fitted yet airy and just so perfect. Lovely job.
ReplyDeleteI figured out a similar top a few years ago (copying a Chicos one I had tried on and liked) and went through the same process. When I have taught how to sew it at my sewing groups it is always a little counter intuitive. It does make me sympathize with pattern makers and companies who have to expalin procedures with words and limited pictures. I think this is the loveliest use of special fabric.
ReplyDelete