Everyone who has raved about this pattern was right! I have a (nearly) perfectly fitting pair of Jeans!

Back to where we left off, which was the completed zipper. I did things a little off from the instructions, just because I wanted to be able to do a fitting before adding the back yoke (which is one of the first steps in the instructions). I was prepared for a gaposis issue, and sure enough, I had it. I took the CB seam in a bit, including the CB of the yoke, before attaching it.
Next came the topstitching. I treated these jeans as my "test lab" for which feet to use where while topstitching on a vintage straight stitch.....and I still don't have the magic solution, but I am getting better! One problem I have is my inherent frugality - I'm STILL using the old style foot pedals on all my vintage machines, and I REALLY need to upgrade, so that I can have better speed control.
I tried using the zipper foot (moved as far over to the right as possible in this pic, with the foot edge butted up next to the folded edge of the fabric - here I'm attaching the yoke to the back). This worked OK for a stitch really close to the edge, but with no foot flattening the fabric as you sew, it's less than ideal:

For the second row I tried using a quilting foot. With a little practice, this could give a nice straight line.

I love my original, open-toe foot :) :) :). As long as my first line is straight, this one works well.

Leg & CB seams - stitched, then serged (with blade up), then pressed to one side for topstitching.

Trying to use the zipper foot for the second row of stitching = pretty much a fail!

~For some odd reason, I'm reminded of an old Norwegian ski instructor, whose words (when I was whining about my old wooden found-in-the-garage skis) are still burned into my brain: "Is not the skis, is the skier!"~
All Topstitched!

Belt Loops too! (folded in thirds, per instructions). I used Tacky Glue to hold them place - I'm now totally sold on glue as an essential sewing notion!


Gaposis Darts added in the yoke (I'll transfer this to the yoke pattern piece, & cut & curve at the pattern level for the next pair):

Don't forget to staystich all around the top edges, if you haven't done this already! Here's the last bit of topstitching down the sides, from waist to hip:

And now it's time to fit the waistband. This step, I'll say flat out, was the worst part of the whole process for me! I knew I was going to want a contoured band. Most sewists who did this said something like "I used the contour band from my favorite ______ pattern". OK. But but but....I don't have a favorite pattern! I even dug through all of my unused patterns, & didn't have a single pattern with a real contoured waistband! Not only that, I couldn't find any thorough instructions in any of my books. Yeesh, why do I keep coming with these seemingly simple ideas that I can't find help for?
So I plowed ahead, using the info I had gathered, & hoped for the best. Unfortunately, I did this late at night. (See my previous post, for the giggles on that fiasco!)
Anyway, I started by basting on a straight waistband (cut on the cross grain):

Once I established markers for the length (note that the sides will be slightly different lengths, to accommodate for the zipper area), I muddled through my attempt at an appropriate curve, with more curve in the back area, straightening out in the front. I decided to have only seam, at CB, and place my CF ends on the grain, so that the curve in back would be on a bit of a bias.

OK. Here's a do as I say, not as I did, example. See how totally, utterly, completely wonky & uneven those edges are? I mean, really, who cuts out pattern pieces that look like that????
I plead midnight madness.
Do not sew after midnight.
I'm printing that out & putting it on the wall in my sewing room.

Waistband & Facing sewn together, still with wonky edges, & still I forged ahead & stitched it onto the pants :(

RS of Waistband Facing stitched to WS of pants, RS of Waistband folded over 3/8" & pressed:

Next morning I unstitched (most of) it. :(
Lessons Learned: There is no room for error in the pattern making & fabric cutting for a waistband that is going to be topstitched, with stitching showing on both sides. 1/16" off in the cutting will pretty much guarantee a 1/4" wonk in your stitching line later! A wavy cutting line....well, let's just say I refused to even take pictures of the results. Yup, that bad :(
After staring at my partially unpicked work for awhile, I realized that if I completely removed the waistband, the edge of the pants would be unraveled dangerously close to the staystitching. I decided to leave the facing stitched on, & just do my best to even up the denim portion before I stitched it.
Band folded over, & raw edge folded & pressed & carefully measured to be an equal width for the entire length of the band:

This time I glued that puppy down! I tried a glue stick at first, but this didn't hold the denim, so I went back to using Tacky Glue, which worked perfectly!

For this step I used the measuring arm on the quilting foot - worked like a dream! Oh yeah, I also switched out the bobbin thread from navy to white, so the inside work (which I already knew was not going to be ideal) wouldn't jump out & shout at anyone who happens to see it.

The end result: OK on the outside, not so great inside, but much better than my first attempt, so I'll call it progress :)

Stitched up the belt loops:

And it's time for Rivets! I did mention earlier to buy extras, right? For practice - if you've never done them before, I highly recommend a practice session!
Tools Needed:
- Hammer
- Strong (like steel), Smooth surface
- Nail or Awl or Nail Punch
- Tin Snips or very strong wire cutters
- Rivets (2 pieces for each rivet)
Step One (after practicing, of course!) - Punch a hole through all layers of your fabric:

Step Two - Make sure the pin section is the right size (i.e., not too long) for the thickness of your fabric. Once the pin is inserted through your fabric, there should be LESS than 1/8" exposed. One method recommends punching a hole through as many layers of fabric it takes to get the thickness you need, then inserting the pin through the hole & trimming around the pin head.

Once inserted into your fabric, it looks like this. The potential for it fraying down to nothing is too great, imho, so I abandoned this method.

Here is an untrimmed pin showing through the pocket edge:

My old rusty (but still effective!) metal snips, ready to do their job! Wear protective glasses, or at least close your eyes, for that final snip! (You did practice, right? So you know how much to snip off? It's probably more than you think, for a nice, tight, rivet.........just sayin'......)

The back of the pin:

Oops, I don't have pictures of the pounding process! I'll add some later - it's too dark right now. In words: position the head of the rivet onto the pin, turn everything over so the rivet head is facing down, on top of your strong, smooth steel plate or equivalent (I just used a flat garden tool - worked well!), & give it a tap with your hammer to set it. Once you know everything is positioned evenly, give it a few pounds (it doesn't take a lot of force...it's more important to try to land your hammer flat on the pin head.
And....
Voila! Rivets :)

I used a rivet/button thingy as well - the same process is used to set the button.
I'll add some more pics of me wearing the jeans when The Photographer shows up (& maybe after I procure a pair of Spanx? - they fit great, but they are snug!)
General Notes (mostly for me):
- Contour the waistband a bit more - maybe place the CB on the grain instead of CF.
- Could lower the front waist another 1/2"
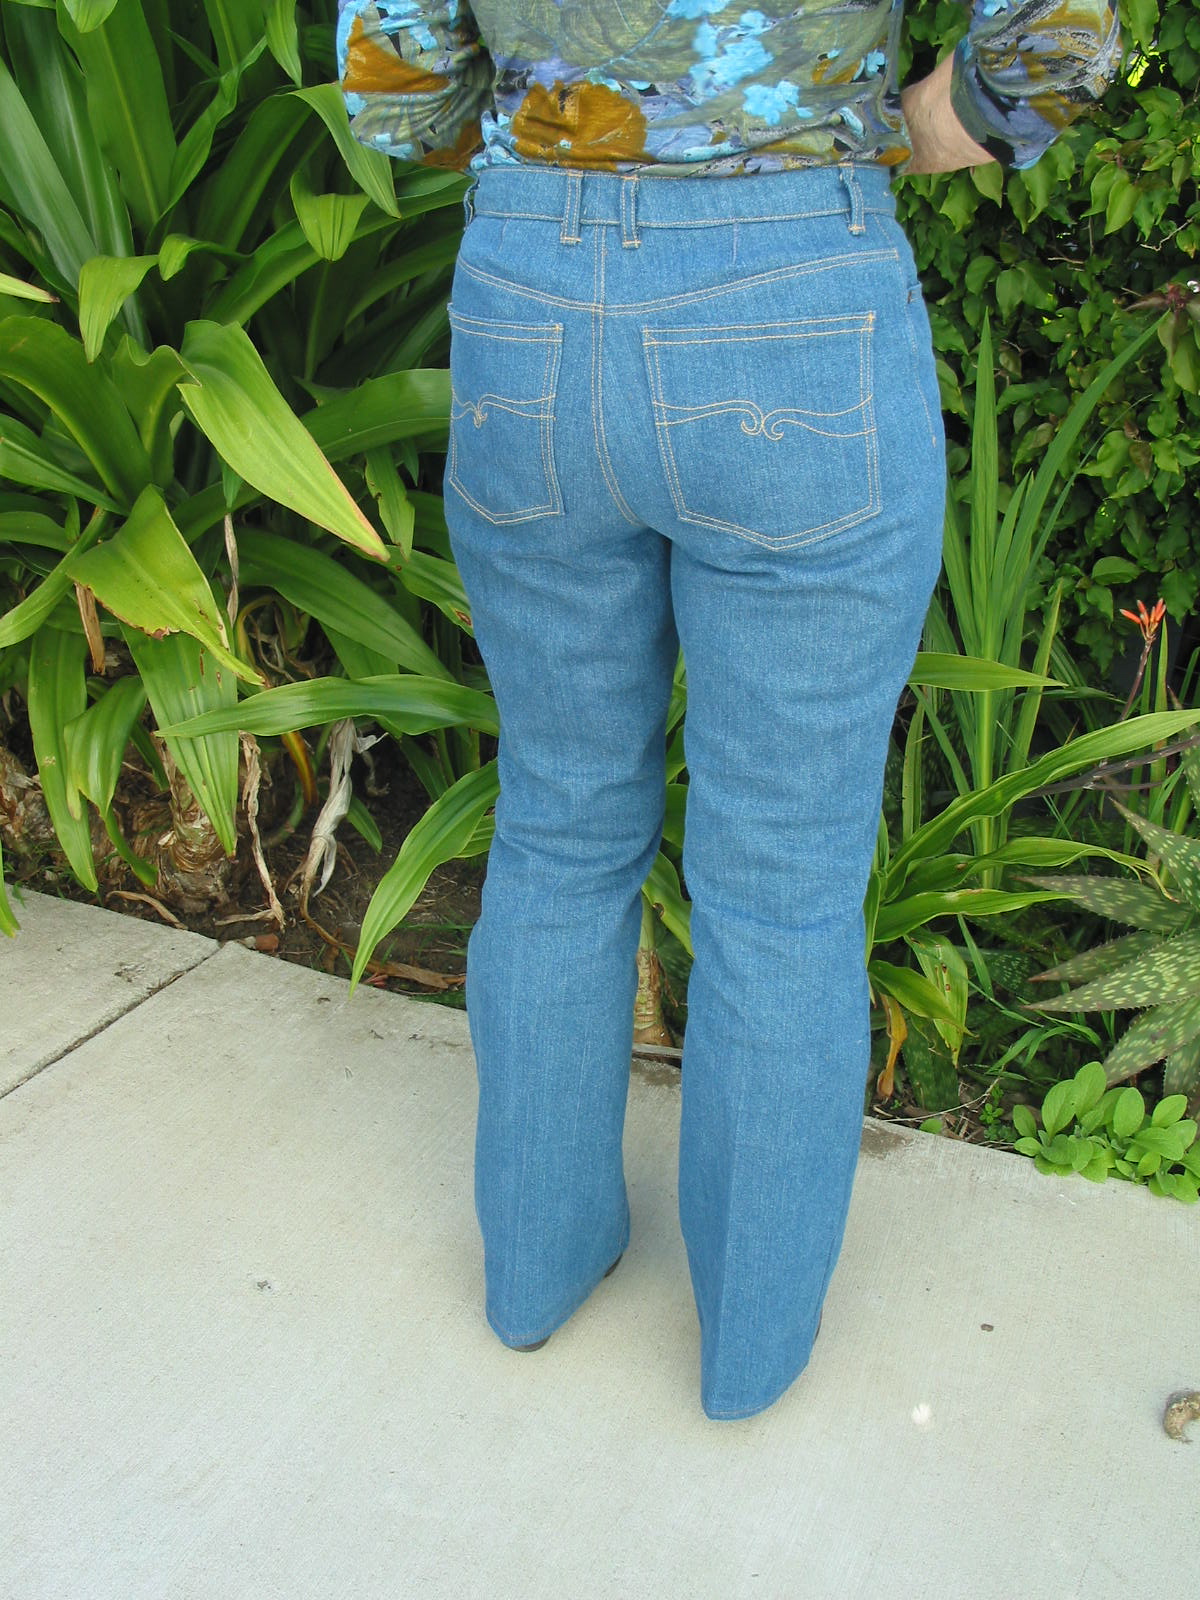
- Raise the back pockets - they seem to sit a little low.
- Make the front pockets a little bit wider - extend the opening more towards the center.
Bottom Line on this pattern: Who knew that a pair of snug fitting jeans could be SO comfortable!!!! Really! When I put them on for the final fit check I didn't take them off until bedtime - how good a sign is that? :D
 |
| Note: I'm standing on a slope here - the waist isn't really slanted like that! |

 |
| Now this is what I call a boot cut jean! |
 |
| Hmmmm..... my sedentary Spring is beginning to show repercussions :( |
 |
| The End :) |
6 comments:
I really need to go to bed...but wanted to say CONGRATULATIONS! G'night and don't wear those cute jeans to bed.
Awesome! Nice work.
These are amazing. They look so good on you.
Even though I saw that it said Jalie on the post, I was still sure you didn't make those jeans. Soooo RTW! I have this pattern....time to dig them out. Fabulous job.
Your jeans are so cute on you! Great job! What kind of denim did you use, and where did you purchase it? Is it a stretch denim?
Thank you Rebecca :) Since these were my first jeans, I got the denim on sale from JoAnn's. It turned out to be a great purchase! And yes, they do have some stretch.
Post a Comment