Until I decided that what said UFO (Decades of Style Tulip Jacket) really wanted was a curved welt. I had the vision, I knew exactly what I wanted....and I wasn't finding any good instructions on how to do it, so I put it off, & put if off...... until I couldn't take it anymore and decided I just had to figure it out on my own & do it.
Three practice welts and three days later (and more than 3 new grey hairs) I have my pocket!!!! I'll take you on my journey, but I warn you, this is not for the faint of heart, I cannot in all good faith recommend that you try this at home (I think there's a reason I couldn't find any instructions on how to do it...), & if most welt pocket instructions make your eyes glaze over (like they do mine) then, well....just don't say I didn't warn you...
This is the dress form garment that's been glaring at me for the past several months, wondering just when I'm going to dust it off & finish it:

I knew I'd need to make a practice pocket. Or two. Or three. And in the process, I ended up realizing that I needed to make notes. Copious, detailed notes, with accompanying drawings. I did this, and I STILL ended up finding & making new mistakes every step of the way! I did not get the engineering gene that allows you to automatically see that Tab A does not fit into Slot B without first sliding it through Slash C, backwards and upside down. And for all of you who DO get that, my hat's off to you. Seriously. Who knew that an engineering degree would be helpful in pattern drafting? Silly me.... I always thought all you had to do was drape!
Anyway, back to the welt.... After my first disastrous attempt, using practice scraps, I thought I had sort of a handle on what I'd done wrong & decided to use scraps of of my fashion fabric. Here are the pattern pieces, which, amazingly enough, actually ended up being not too far off for the final results.
Step 1. Make up your pattern & practice (prefereably on scraps of your fashion fabric):

I'll just skip how many times I interfaced the wrong side of the welt, & stitched up the wrong edge (see my notes on the pattern piece that makes it very clear which side to stitch, & which side to leave open?) I was so pleased with myself once I finally figured that out.
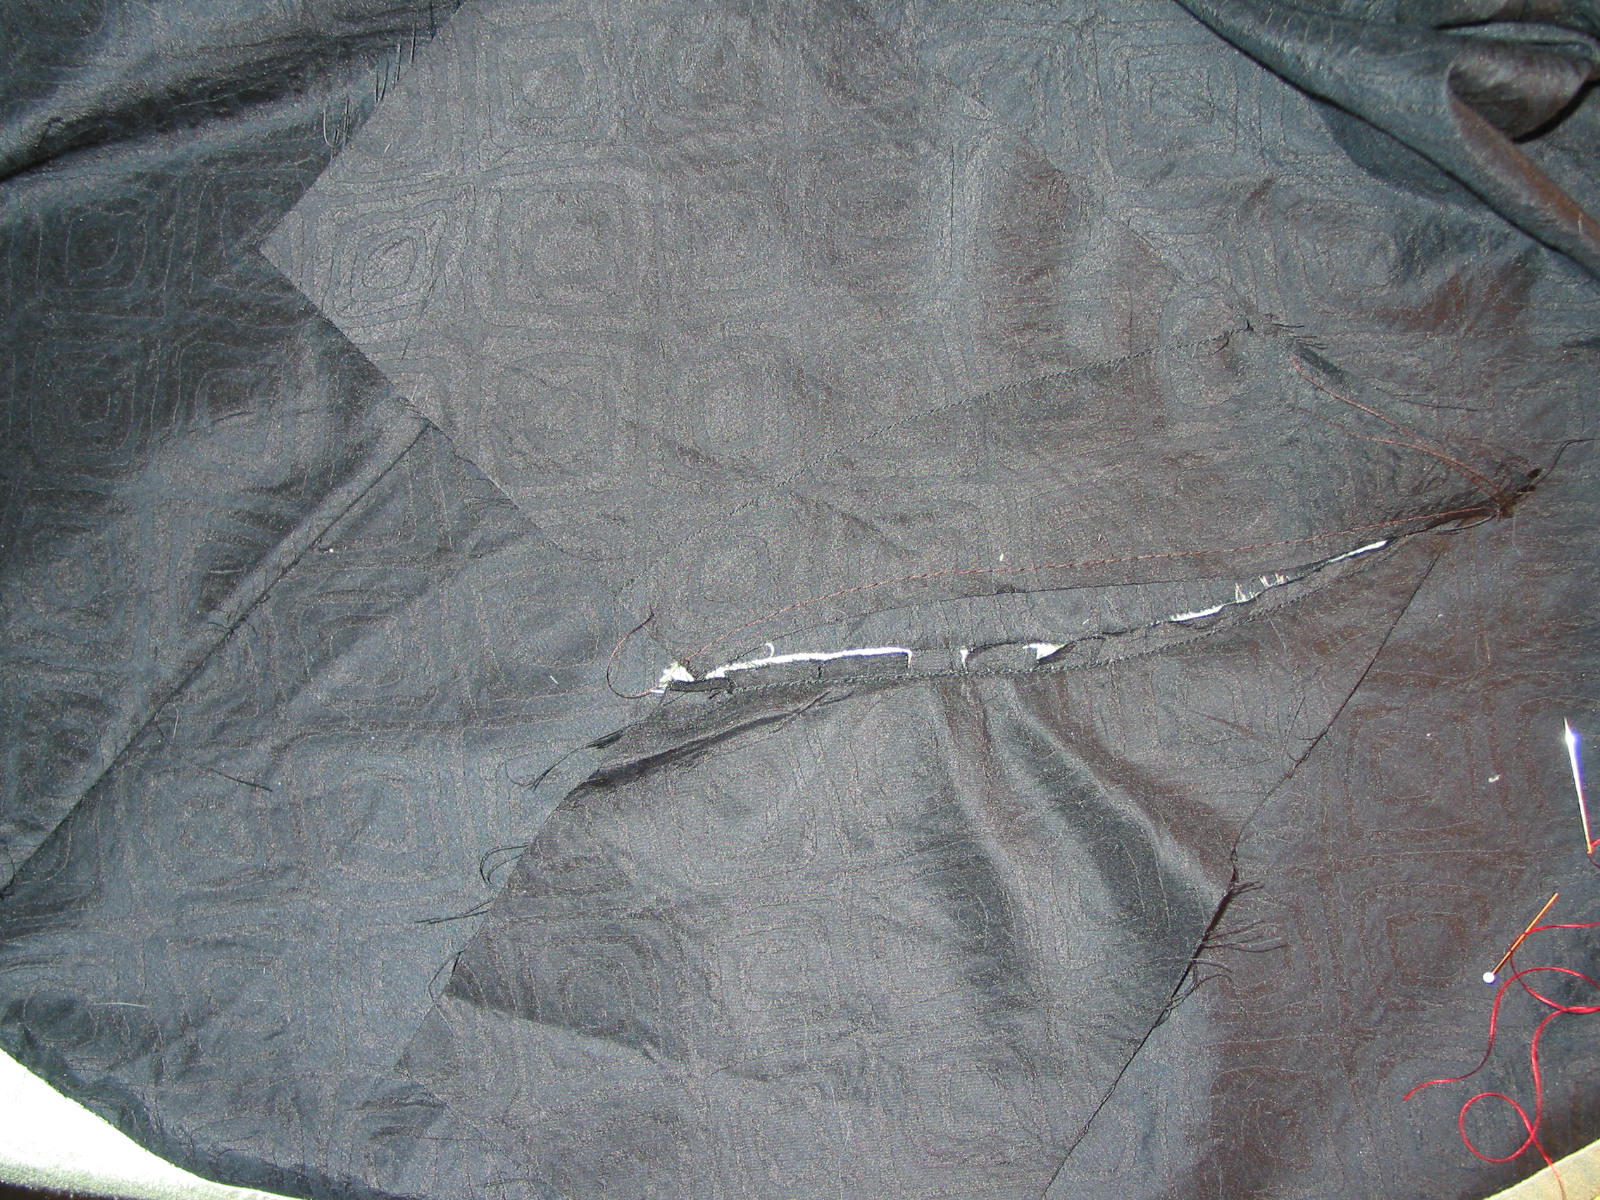
2. Interface Welt (if necessary, and sew together, leaving the bottom edge unstitched. Press and turn and press some more.
FINALLY, I had the welt stitched up to be facing the right direction, ready to go....

And then another botched attempt before the AHA!!! moment finally kicked in, & I realized that I had to be matching an outside curve to an inside curve! Yeesh. Getting to that realization was MUCH harder than actually doing it! By now I'd completed most of the practice pocket & figured I was ready to make it work on the real thing. Every step that follows was checked, triple checked, hand basted, and machine basted, before doing the actual stitching.
3. Sew Welt onto Pocket. (Or, in this case, Pin, then hand baste, then sew).
Outside curve of welt pinned to inside curve of outer pocket (yeah, there's the outer pocket, the inner pocket, the outside curves, the inside curves, the pocket facing, the wrong side/right side of everything.....are you still with me?):

I thread stitched the placement line onto the jacket (Note: the welt has been basted on to the outer pocket, in this picture it's the LOWER edge of the welt, already stitched to the pocket, that's going to be stitched onto the jacket):

5. Baste & Stitch the pocket & welt onto the FF.
Welt & pocket basted onto the jacket (again, matching outer and inner curves):

Since everything is being done upside down & backwards (literally!!!) I actually pressed the welt into its final form....just to be sure..... Seriously, with all the potential for mistakes, triple checking everything for accuracy was crucial! ::whew::: it's looking OK so far.

6. Place WS of Pocket facing on the RS of the Inner Pocket. Stitch the lower edge of the facing onto the pocket.

7. Butt the tops of both pocket pieces up against each other, with the Pocket Facing next to the FF.
In this case, we have (of course!) one more inner/outer curve to match & sew:
8. Baste, then sew, the Inner Bag to the FF. (Have I mentioned yet that you should still be double & triple checking your placement with every step?)

9. Mark the edges of your stitch lines, in order to know where to (gulp!) slash your FF. I am NOT giving details on exactly where to end your stitching lines, & where & how to slash. This is detailed beautifully in Judy's directions (linking above) & most other welt tutorials as well. And I had to fidget & fuss & fret & fine tune this several times (due to the curves & points & oddities of my particular peculiar vision here...*rolls eyes*....)
One Important Note! Make sure that your welt, when folded up & in place, covers the stitching line you just made on the inner pocket! If it doesn't, adjust something. Hey, I was definitely flying by the seat of my pants at this point! (& where did that silly saying come from???)

10. And now.....(have I mentioned that you really really really need to have everything triple checked here?), it's time to Slash Your Fabric. It was late at this point, & was, as mentioned, doing all sorts of little futzy fine tuning trying to get everything to lay flat & work together, so pictures at this point were sort of meaningless. You slash, you clip your corners to the end of the stitching, you fold over your V's, you make sure everything is reinforced.......trust me, (if you're still with me), you will have already studied or done this on straight forward, rectangular welts, and you don't need to see the gory details of how I muddled through this!

And.....ta DAH!!! This finished product!!!! It is less than stellar, and like an aging beauty queen, the harsh artificial lights show every wrinkle & pucker (yes indeed, I did end up with the dreaded corner puckers...*sigh*), and I think I need to redo that topstitching on the end, but from just a bit of a distance, and in context with the rest of the jacket, it looks ...dare I say it... fantastic!

Bottom Line? Would I do this again....mmmmmmmmmaybe. Sort of. Definitely I would do an odd shaped welt, but I think I'd leave the shaping to the top edge of the welt only, & just use a straight line for the bottom edge & slash. & avoid sharp points. By the way, odd shaped welts surrounding a straight slash; i.e., double welts, where you can see the inside portion of the welt - not a problem! In this case, it was the single welt without a visible opening, and a curved opening, and the pointy point, that created the problems. At least for me. Maybe, if you have that engineering degree........
At any rate, that's enough for one post. Next up is the finished Jacket - Yay!!!!!
5 comments:
Wow--great tutorial. Sometimes it is better to learn from someone who isn't an expert at an application as they can point out things to be careful of.
Threads had an article on curved welts. I'm not renewing my subscription---I've got JillyBe's blog to refer to!
Gloria - which issue of Threads did you find this in? I found a couple of instructions for double welts, and I see there are instructions for some sort of curved welt in an older issue (No. 62) - would love to see more!
It occurs to me (20/20 hindsight) that I could have cut my welt so that the sharpest part of the curve would have been more on the bias....that might have helped a smidgeon.
I was hoping no one would ask which issue(s). LOL. Later I will go through my index and check this out. It seems it was one with a red jacket on the cover (most recent article) on welts, but I will go through my list.
I bow to you! The whole topic makes me sweat.
Just checked my list and for "curved welts" only #62 came up (the one you mentioned), but I was sure I had seen something more recent in Threads. If I find it, I'll let you know.
Post a Comment