It's about exploring and sharing my creative adventures (mostly sewing these days) ~
~those activities that sometimes obsess, usually inspire, occasionally frustrate
~and always provide a delightful maze to wander through.

Sunday, October 21, 2012

The Marcy T Jacket She is DONE! (and I love it!)

I have to start this post with a huge THANK YOU to the folks at Stitchers Guild who helped me so much with fitting, and especially ejvc, who took a lot of time (during a particularly busy time of her life) to give me numerous bits of golden info that have forever adjusted my ability to fit.   I am SO glad I decided to take the fitting issues (heavily documented in these previous posts) on this jacket to a new level for me - I think it's going to pay off big time in future pattern adjustments :)

Another thing I'm uber grateful for is Penelope, my Grand Dame 201, who did all of the work on this jacket, including sailing smoothly over the valleys and hills created by a thick and juicy fabric, beautiful top stitching (as always), and a stellar job of getting right up next to the hooks and eyes on the tape I used for the closure, using her super-skinny zip foot:
I just loves me a good old
straight stitch vintage Singer :)
The fabric is of unknown origin (a great buy from Fabrix!), but it's a soft, comfy fleece on the inside, and I believe a wool blend on the striped side.  It's quite substantial, and fairly stable for a knit, with maybe about 15% stretch.

As crazy as it may have been to muslin a knit garment with with a woven muslin, it paid off - both in what I learned during the process, and in the finished results :)

I visited Steph while she was house-sitting near me today - perfect timing, since she's also working on her (awesome!) version of this jacket - I hope she has it finished and blogs about it soon - she's doing some piecework on hers, and lining it - it's going to be beautiful!   Here are some shots she took, in my "tough girl" (hah!) outfit:


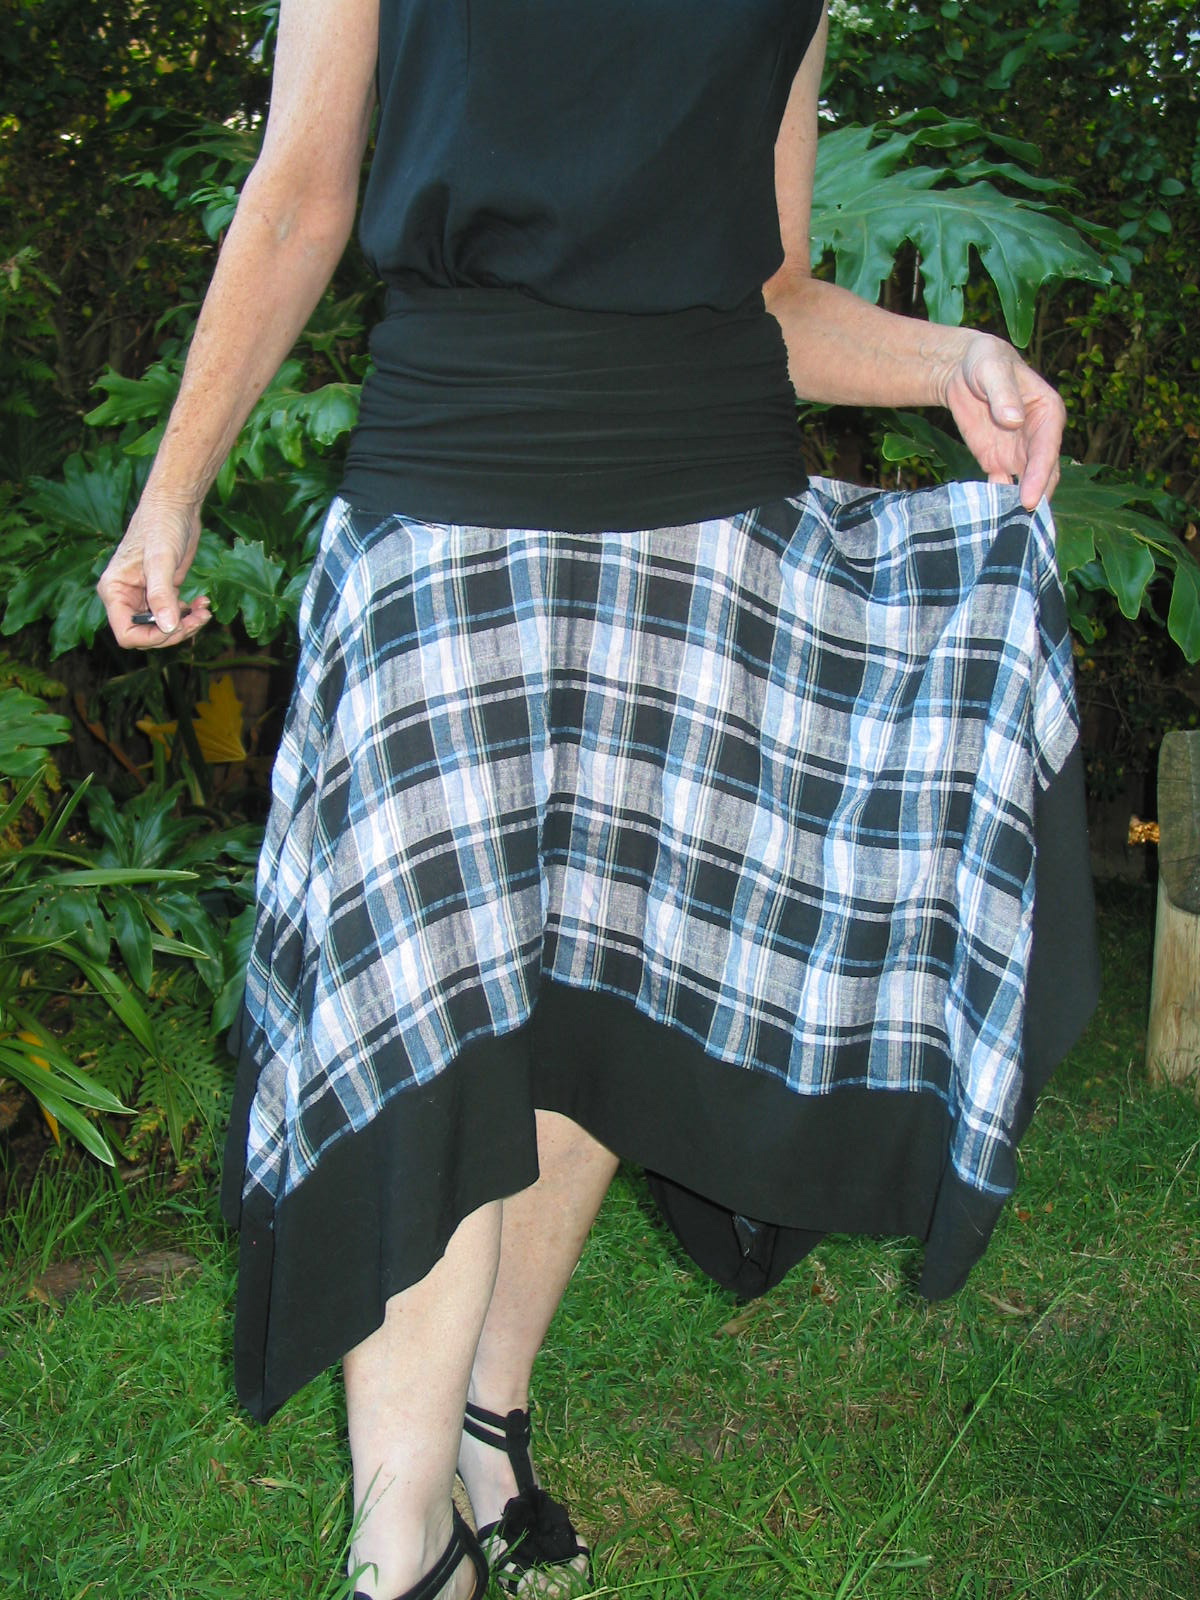
The bundled funky look, wearing Marcy T pants V8712,
my fabulous Harlequin Feltworks scarf, and of course,
my to-die-for Trippens:

And the not-so-bundled funky look:


I almost forgot to take a shot showing the side and back fit, showing the results of all those muslins:
Unbelievably, I could have removed even MORE fabric from the back and the upper sleeve, but everything else is pretty good.  You can see how the CB seam comes together here.  I could also still add a bit of a shoulder pad on the left shoulder, so I'm not QUITE finished yet....

Heres a close-up of the CB seam, which is topstitched on each side of the seam.   The stitches really sink into this fabric though!   I also topstitched on all of the collar edges, and did 2 lines of stitching on all of the hems.

Some miscellaneous notes about the pattern:

  • The last step on views A and C is to place "one long edge [of the hook and eye tape] along the placement line"....which edge, I wondered.... and then, after just picking one edge & trying it, I realized that it doesn't matter where you place your tape...the placement line is basically just a suggestion, and you can move your tape wherever you want it, thus snugging the jacket up when it's hooked, or loosening the fit.   No need to be anal about this step.
  • Once you know your size, or have any fitting issues worked out, this really is a super quick and easy pattern to make up.   Very little work for such a great result!   And even though it's a bit edgy, your fabric and closure choices can make it into something rather sedate, or something wild and fun :)
  • The collar ROCKS.   Someone asked if I thought the collar pattern could work if fitted onto a different TNT jacket pattern, and I think it would be very easy to do, simply by extending one of the front pieces to accommodate the extra collar length.   

If you've already suffered through all of my muslin-making and notes on this, you can skip the rest of this post; if you're interested in making this pattern up (and I do recommend it!), you may (or may not) find the following details helpful.  :)

Changes I made to the pattern:
Narrowed the shoulders (I usually need to do this, but the shoulders on this pattern are VERY wide)
  • Forward shoulder adjustment (again, I usually do this, but it took several attempts to get it right on this pattern)
  • Lowered the Sleeve Cap.   A LOT.
  • Adjusted the curve of the sleeve.  
  • Eliminated excess fabric from the back at the armscye and upper  side seams.
  • Raised the armscye (which is cut very low in the pattern)
  • I used stay tape instead of fusible interfacing at the shoulder seam.  Minor, but perhaps worth mentioning.
  • Created a back seam, so that I could give the boxy shape a bit more of a fitted look.
  • Shortened the sleeves
  • Broad Biceps adjustment (the nice way of saying arms-that-used-to-be-muscular-and-are-now-just-flabby adjustment)
  • Shortened the jacket even shorter than the short version (and I'm long-waisted!   Go figger.....)   
  • Angled the lower hem so that the back was shorter; front was longer
  • Folded the collar so that the "other" side shows - I like the contrast of the front flap, so extending it to the collar seemed logical to me.
If you're still with me, here are some shots of my pattern pieces placed over the originals:


In conclusion, I not only love my jacket, but I am incredibly grateful for the fitting lessons learned!  I seem to be ready to soak up more pattern adjustment and fit tips; when I met with Steph this morning,  she gave me another bit of golden fitting info that I can't wait to put into use!

I think that it's like many explorations into new territory - everything can seem so overwhelming at first, because there's so much to learn, and then, as you begin to understand things, the next steps get easier and easier, and the "Aha!" moments show up more frequently.  Have you had those turning points in your sewing when everything started to fall into place with more clarity?

Here's to sharing and receiving as many "Aha!" moments as we can, and giving thanks for such a generous community of people willing to share - I'm still incredibly grateful for all of you :)

Friday, October 19, 2012

V8795 - Muslin #something.5 - the Last one. Really.

I futzed and fussed on this all evening.   And it was worth it!  Even if I don't end up with "perfection" (whatever that is) on this jacket, I have learned SO much about fitting, mostly thanks to the wonderfully helpful hints from the sewists over at Stitchers Guild, and especially thanks to the thoughtful comment that the fabulous dr. e made in yesterday's post, which I swear has given me more confidence and helpful hints about fitting in one short page than entire books that I've read!

Following her advice, I was feeling optimistic enough to continue with some sleeve adjustments, which I'll do my best to document with some degree of clarity here...

I removed one sleeve, marked the grainline on the fabric from the the shoulder seam down, and pinned it back in place.  You can see the grainline marked in pen here:

I unpinned the sleeve, moved the seamline placement dot back about 1/2", drew a new grainline (in green) down to the wrist, rotated the sleeve forward to match up the new dot at the seamline, and pinned the sleeve back on:
You can see that the new grainline is set just a bit further back from the original, but still sits pretty far forward on the arm.   There will be more about this later....  However, a lot of the poofiness in the sleeve cap has been evened out between front and back.

Here's a shot of the back at this point.  I've done nothing to the left sleeve, and you can already see the difference!  I'm noticing a more distinct difference in the slope of my shoulders though...it may be time to find another bodyworker....  hmpf.


Next step was to unpin the sleeve cap above the notches, and smooth them into the armhole.   This is where a fit buddy could really come in handy!   Alas, I was not able to conjure up a fit buddy, and the cats are utterly worthless when it comes to handling pins.

Sleeve stitched back in place.   Looking better....not there yet......  I also shortened the jacket - it's just rough pinned in place, but it's definitely improving the overall hang!

Back, shortened.  Better!

The right arm is looking much much better from all sides!

Here's the (already much altered!) sleeve with the new seam line marked.   I made even more changes after this, but that was a lot of excess removed from the front!:

After another little adjustment.  Or two.  Or maybe 3.... and here's what my sleeve looks like overlaid on the original:

I mentioned in yesterday's post that I had removed over 1/2" of fabric from the back at the upper end of the side seam.   A little light bulb went off today and I realized that I also needed to remove some fabric from the armscye above the side seam, so that the armscye curve would still be in sync with the sleeve cap.   Sorry, no picture of this, but I hope the concept makes sense.

Another light bulb came on when I laid my sleeve on top of the original - see the green line that actually DOES run from the shoulder seam to the wrist?  That's the new grainline (the one I drew originally is squiggled over), and here's the twist - the new line actually matches the grainline on the original pattern!   With all of the tweaks I had done, and mostly, I think, when I did the broad arm adjustment, the grainline was thrown off when I cut the pattern piece.   That alone will probably take care of some of the remaining wrinkles when I cut into the Fashion Fabric (FF).  I hope.....

I made some adjustments to the hemline, tweaked the sleeve cap a bit more, and by Jove, I really do think I've (almost) got it!  The right arm in the following pic has had more of the final adjustments done to it than the left:

But even the left side isn't looking too bad (I still have some hemline tweaking to do here though):

For the life of me I could NOT get a decent picture of the back...by the time I twisted around to get the camera bleeping with the remote, I couldn't seem to get standing straight in time for the pic, but that's life, eh?

I daresay I'm ready to cut into the FF!   Have I mentioned that it has stripes?   That I'll need to match up on the curves in the back and side seams?   Because I wouldn't want you to think that it's all going to be so terribly easy from here on out.   Let's just hope that the knit factor of the FF doesn't leave me with a baggy mess, after all this fitting!

But even if it does, I've learned more than I dreamed I would in this process, and it feels like a mini-course in fitting.

And that feels pretty good :)

ETA:  4 a.m.  I couldn't stop.
FF is all cut out except for sleeves, & I've started assembling it.
LOVING it!
Started making mistakes = Bedtime.
Sweet dreams :)

Thursday, October 18, 2012

V8795 - Muslin #2 - and 3 - and What I've Learned.

This is a simple pattern.   Really, it is.  Five pieces - 2 separate fronts, the back, the sleeves, and the collar.   Well, 6 if you count the facing for the right front, but because of the bulk that said facing creates I'm doing a cut-on facing.  That's one less pattern piece, and one less seam.  And on the left front, I'm using the fabric selvedge for the edge - no facing, no finishing.

Pretty darn simple, right?

Don't get me wrong, I LOVES me my Marcy Tilton designs!  If you've followed my blog at all, you know that already :)  But if you want this pattern (which is described as "semi-fitted") to actually BE semi-fitted, you may have some work to do.

With all of the fit issues this pattern is giving me, I am giving thanks that there isn't a whole lot of actual sewing involved to make it up!  I'm diving into the whole process headlong, and calling it a learning opportunity.   The good news? Light bulbs are actually turning on in my brain!   All of the reading I've done on fitting, and the tidbits of info I've filed away (whether they made sense to me or not) are finally giving me a few little "aha!" moments in working with this pattern, and some things here and there are beginning to make sense. :)

Here's muslin #2 - much, much better than #1 (yesterday's post)!
I adjusted the shoulder seam for sloping shoulders by lowering them another 3/8" at the sleeve edge.  This raised the lower armscye, and I realized that Belinda was spot on about the the armscye being cut very low.   It was also one of those light bulb moments for me.

So many little adjustments at the pattern level are simply counter intuitive for me.   Like this one - if a sleeve feels too tight at the armhole, and the bodice pulls so that you don't have enough movement, my logic tells me that you need to make the armhole larger.  But if you cut the armhole smaller, you end up with more freedom of movement.  I know I still have a lot to figure out about just which situations translate to which solutions where armscyes and wrinkles nearby are concerned, but this is one step closer for me. :)

However, see all those wrinkles on the upper sleeves?  Helpful folks over at the Stitcher's Guild thought I needed more sleeve cap - I had already removed a lot (which I do on a lot of patters - I really dislike sleeve cap puckers!), but adding some back did help (see Muslin #2.5, below)

The back, at this stage, is still a hot mess though :(  Gobs of fabric near the armscye.  Too tight at the hips, creating folds at the waist.  Wrong.  Just wrong.

On to muslin #2.5 (just a few adjustments, not an entirely new muslin.   That's yet to come.....)  The right arm (my right) looks MUCH better than the left, after adding back some sleeve cap height.

The back, however, is even WORSE than before!!!   I think I had adjusted the SA at the hip to add more fabric, but fabric folds and bulges and hills and valleys near the sleeves are oh so very very very wrong.   Still.

I had a devil of a time finding any solutions for the Battle of This Bulge, so I just took a wild guess at one, and removed some fabric from the back, at the side seam:
That's well over 1/2" removed at the armscye!
By the way, I did this AFTER re-cutting Muslin #3 (only the back & the sleeves, thank goodness - I was able to re-use the front & collar pieces *whew*).   So you can imagine what this did to the sleeves, which ALREADY had more ease than I like:
You can see that the Battle of the Bulge has been won (yay!) but just look at all of that sleeve cap pucker happening at the back of the sleeves!   Eeep!   The rest of the back is hanging much.  much.  better :)   (I adjusted the back seam to allow for more curve in at the waist & more out at the hips.   Although, one suggestion was to cut the jacket shorter, which I may do.

You can see that the upper back is too snug - I'm allowing for that to be taken care of by the knit fabric which will be the fashion fabric final.  (fingers crossed...)

The front is looking OK at this point.  There's a bit too much sleeve cap puckering here too, but the plan is to adjust the pattern & hope for the best.   Because Muslin #4 just ain't happening!

The adjustments I've made (so far):

  • Narrowed the shoulders (I usually need to do this, but the shoulders on this patter were WAY wide)
  • Forward shoulder adjustment (again, I usually do this, but it took several attempts to get it right on this pattern)
  • Lowered the Sleeve Cap.   And raised it back a bit.  And lowered it again.
  • Adjusted the curve of the sleeve.  Again.  And again.
  • Eliminated excess fabric from the back, near the side seams.
  • Raised the armscye (which was cut very low in the pattern)
  • Created a back seam, so that I could give the boxy shape a bit more of a fitted look.
  • Shortened the sleeves
  • Broad Biceps adjustment (the nice way of saying arms-that-used-to-be-muscular-and-are-now-just-flabby adjustment)
I think that's all.   For now....

If anyone has any brilliant thoughts or suggestions before I cut into the Yummy Fabric, feel free to speak up!   Right now I'm feeling that the shift in fabric, from thin woven muslin to double-sided knit will either solve some of my issues, or create a batch of new problems.....wish me luck!

Tuesday, October 16, 2012

Why I Love Tracing Patterns and Making Muslins.

Love?  OK, I admit it, that's pushing it.  Kind of Big Time pushing it.  It really should be more like "Why I love the results I can get by taking the extra time to trace a pattern and make a muslin."

Case in point:  Marcy Tilton's edgy & potentially wonderful jacket, Vogue 8795.  I've been wanting to make this since I first laid eyes on it, but I'm thankful I waited long enough for a few brave souls to report on how they ironed out the glitches before me!

I took note of Mary's review of her beautiful jacket, and Belinda's excellent notes, made my usual adjustments on the pattern (narrow, sloping, forward shoulders, and flaring out by a couple of sizes at waist & hips).

And ended up with a lip-curling pile of fabric confusion.  :-\  I had the sleeves on, but ripped them off in an attempt to figure out what was going on with the mess-of-a-fit, even without the sleeves (which, with no surprise, have a way-high sleeve cap and symmetrical front and back...I'd already done some adjustments on the sleeve caps but the whole pattern needs way more than that!)

It was already obvious that the shoulders are very.  very.  wide.  So I cut the shoulders and neck at a size 8, and still narrowed them, and ended up with shoulders that are STILL insanely wide!
Also, see where the right side ends at almost the center front?.  At least, the pattern SAYS that's supposed to be CF, and on the skinny boobless models on the pattern jacket it sits at CF.  Please note I have NEVER needed to do a FBA - I'm not boobless, but still.....   Maybe it only hits CF when you cinch yourself in with your closure?

Now, granted, this pattern is meant for knits, and I didn't have anything close to the rather thick, double-sided knit I plan on using.  So my muslin is from a rather threadbare flannel sheet, but I thought that I could at least get an idea of the fit before cutting into my yummy fabric.

My idea of the fit on this pattern, at this point, is that it relies HEAVILY on the stretch of the knit in order to forgive what appears to be some rather odd drafting issues.

IMHO, of course....I could be way off, but at least some other reviewers have noted issues as well.

I think I'll follow Belinda's lead and cut a seam in the back, both for shaping, and to give myself a little leeway in getting a better fit:

Here it is with the left flap closed - there just flat out ain't enough fabric there to fasten it closed!   Maybe with the knit?


At any rate, I'm back to square one, and plan on tracing a completely new pattern, playing with what I know does NOT work.   The good news is that my fashion fabric, as fabulous as it is, was only $3.99/yd at Fabrix.  The better news is that I bought the end of the bolt, but just happened to pop in to Fabrix yesterday, where I saw 2 more bolts...so even if I end up with a disastrous fit in the fashion fabric, I can call THAT a muslin and try again [big grin]

Wish me luck...hopefully I'll be back soon with better results :)

Do you have a story about a Great Save you made because you made a muslin?  Feel free to share a link; I can even add it into the post if you would like. :)


Wednesday, October 10, 2012

Ramblings, Requisitions, and Renewals

I'm feeling some renewed sewing energy - if only life, work, and the clock would just cooperate...oh the things I could accomplish!  In my own rather chaotic fashion, though, I'm trying to be just a bit more organized, and I think I'm making some headway.

My New Habit for the month is keeping my currently-in-use and planned-to-use-soon patterns organized, and to that end I've gone the simple route.  I did go shopping for some file holders, but I couldn't find anything quite right, not to mention my cheapness frugality in looking at the $20+ tags on items that were just OK.   So I came home, taped up a box, covered it with fabric on hand, and voila!   My new pattern holder:
I still plan on cutting some cardboard separators to place between the patterns.
Currently there are only 2 in there, both being worked on at the moment,
and none in the "To Be Made Soon" category
#1 pattern goes in the "Renewal" category - the Soho Raincoat I started last year, & got a bit stymied by figuring out how to sew up the seams with all those randomly placed pleats in the fabric, coupled with the fact that  we had No. Rain.   In the hopes that we WILL get some rain this year, I'm excited to get going on it again!
I'm delighted to see that my thread markings
survived all of the shifting around during the year. :)
#2  pattern I'm REALLY excited about - this goes in Requisitions - a couple of weeks ago I found the PERFECT fabric for Marcy Tilton's jacket Vogue 8795.  It's a particularly yummy double faced fabric of unknown content, from Fabrix.  Soft and fleecy on one side, soft and stripey on the other:
I'll use the hook and loop tape on this.
And please note the 3X5 card attached -
that's destined to be next month's Little Habit to add :)
One more Requisition.  Which is also a Recommendation. I needed some serger thread, so put in an order with WAWAK  (btw, I placed my order on Monday night and it was on my doorstep Wednesday morning!!!!   Now that is service!)   While browsing through my catalogue, I finally decided to bite the bullet and order something I've wanted for a long time - FINALLY no more running to JA's & their limited selection of Gutermann threads - I can order the big cones online and know exactly what color I'm getting!:

And here's a cool little feature - you can remove each column of thread so that you can place it right on top of your fabric - very nice!

Oh yes, another Requisition, except this is from the other side of the fence.  I've been meaning to make some more steampunky bustles to list on my (still a baby) Etsy store, so that I don't need to deal with specific custom orders (and all of the angst & worry that goes along with giving the darling customer exactly what they want).   But alas, I was too slow, and got another custom order.   Don't get me wrong, I'm actually grinning THIS big, not complaining!   I'm also approaching this one with a bit more conscious time-planning and record-keeping in mind, so that I can know for sure if I'm making $5 an hour, or only $2.50 an hour.  ;-D   I jest...but not by much!

It's good.   Really.  It's all good.  I'm still having fun!

On the Rambling end of the spectrum, I'm motivated to create a Design Board that is actually big enough to be of creative use.   Inspired by sham's post following her DOL adventure, I realized that this wall actually has enough space to hold a reasonably sized Design Board!
This is one of my two little (emphasis on LITTLE) attic rooms - the other one is officially my sewing room; this one is the Guest Room slash TV Room slash Ironing Center....theoretically....but the creep from the sewing room is slowly taking over every corner, so I might as well just make it official.   So.  Please envision with me a fabric covered board on that wall, bursting with creative inspiration!

One more Renewal - a renewed commitment to my goal of not buying any RTW, which I made when I re-started this whole sewing journey in January 2010...almost 3 years ago now!   I have yet to buy any RTW clothing, other than socks and shoes, and some thrifted items like my stash of silk neckties, and sweaters that I've been gathering, all destined for upcycling.   You will notice the 365 RTW badge on my sidebar - this leads to Sarah at Goodbye Valentino's blog page for those who are willing to commit to 365 days of not buying ANY RTW clothing (underwear and shoes are exempted).   So, just in case I thought I could bend my commitment, I now have a renewed reason to continue sewing my own. :)

That's all the ramblings I have for today.   I have a bustle to work on, and some more Soho pieces to cut. :)

Saturday, October 6, 2012

The One Piece Mini Wardrobe (Vogue 8263)

Some time ago, way back in August, I had Grand Plans.  Yes indeed, I was going to sew me another mini-wardrobe!  I had been so inspired by the Pattern Review mini wardrobe contest last year, and found that it really helped me plan out projects so that I didn't (continue to) end up with a closet full of orphans who simply do not play well together.  So when the contest came up again, along with an accompanying mini wardrobe sewalong for those of us who weren't quite up to the rules and regs of the official contest, I was in!

Or so I thought.

Fast forward, several weeks later, and I am happy to announce that, at last, one (1) of the planned pieces is finished!

I needed a layered top for my "basklecloth" skirt, and had the perfect blue shade of silk noil in stash, but after one failed attempt at a match (the shirt was OK, just not paired with the skirt - wrong style totally), I decided a simpler pattern was in order, using the same fabric.
Enter Vogue 8263.   A simple jacket with clean lines, and although it's a bit conservative for my usual style, I thought that a touch of silk screening and the right button could make it all work for me.
I made up a quick muslin, did a few adjustments (my usual sloping, forward, narrow shoulders, created a bit more room in the upper arms, waist and hips.....  all was fine, so I cut it out in the silk.

Nope.   Didn't like it.   At all.   And yet.....once I removed the sleeves, I thought it would work very well indeed as a vest layered over a long sleeved shirt.
Yes, some definite possibilities here.  I added some patch pockets, and started thinking about embellishments to personalize it and make it a bit more "me"... I ordered some Marcy T silk screens that I thought would pair well with the skirt.   (Can you tell yet that this is already turning into one of my classic change-directions-seventeen-times-in-the-process-of-making-it projects?)

While waiting for the silk screens, life busy-ness arrived, sewing mojo departed, and the vest just sat, threatening to turn into a UFO.

Until one day last week, when I was welcoming some energy and "spare" time, and used it to clean up the sewing space.  One of my vintage ties had managed to plop itself on top of this vest, and little light bulbs started turning on.....  I went through the tie stash, looking for something that would help marry the vest with the skirt, found one, draped it over the neckline, and ended up with this:
I've now started to get a bit excited, and I've begun to welcome the sew-jo back. :)   I sewed down the tie, then decided to add a few buttons.   At this point I was liking the results, but the bottom hemline was looking a bit wimpy.  I had fully lined the vest, but I STILL have not mastered this whole lining thing, and this, couple with wimpy fabric, was causing the hemline to look a bit wonky.   Did I mention recently that I've never taken a sewing class?  It's time, it's so time.....

Anyway, I solved the wimpy hemline by adding a bias strip (ready-made, vintage from stash) along the edge, giving it some weight and a touch of interest with the strip of color.   I meant to take more in-progress photos, but late-night sewing combined with forgetful mornings and, well, photos didn't happen.

The vest was almost there....just needed a little something else...... I did end up adding a few touches of silk screen after all, and here's the result:
Some silk screening notes:
1.  I discovered, quite by accident, that you can squeeze the paint through from either side of the screen!  It makes sense, but for some reason I had thought it wouldn't work.   This is nice, because you can match reverse images if you want - yay!
2.  Thick blobby paints are not so easy to work with.  This also makes sense, but who has paint extender on hand when you need it?  Oh, everyone but me?   Well, it's on my shopping list now....
Back View.
I'm starting to learn the concept that less is more, at least sometimes....

Closeup of the tie and vintage button
This pattern has an in-seam buttonhole at the yoke.  I just wrapped and folded the tie around the buttonhole and stitched it down.  The button here is a vintage fabric covered button from stash.  Have I mentioned lately how much I LOVE my vintage button stash?

I removed the interfacing from both ends of the tie.   The extra oomph was fine at the upper collar edge, but it was too bulky for all of the folds and twists at the ends.

The tie, by the way,  is a Jerry Garcia design from the "Paris in the Rain" collection.  I scored a batch of his ties at a thrift store, and love the fabric designs on them!

The finished vest being worn:  :::Aside:  Doing the happy dance because I FINALLY found my camera remote, after delaying this post for a week because it was lost:::


Going for the "Yeah I'm short and I'm admitting it" look:


Fully lined - self fabric on yoke, silk from stash on back & sides:
A shout out to one of my favorite RTW manufacturers, Nomadic Traders Co.   The blouse and pants above are theirs, and their fabric is beautiful quality, as is the construction.  Sorry you can't see the detail, especially on the pants, but trust me, these clothes will last a very long time! Although I haven't bought any RTW since I started sewing (yay!), I used to never miss their twice-a-year sales at the Berkeley warehouse.   If you're local, and you like natural fiber, trendy-but-classic looks, be sure to check them out and get on their mailing list!  Note:  It looks like they do not have a website for the warehouse sales, nor do they advertise them; here's a link to the Yelp reviews: Nomadic Traders Warehouse

I still have a lot of ties (and I'm looking for more) and a lot of ideas about how to use them.   There are SO many upcycling possibilities out there....please please PLEASE keep me AWAY from the new fabric stores - I have enough!!!!

Oh, and btw, there are some rather fabulous entries in the PR Mini-Wardrobe contest - check them out!   (and if you've been a member for over 90 days, you can vote for your faves)

Here's to wardrobes, clothes that match, orphans that find families, and upcycling!   I welcome comments about any of the above - or anything else you feel like saying, for that matter... :)