It's about exploring and sharing my creative adventures (mostly sewing these days) ~
~those activities that sometimes obsess, usually inspire, occasionally frustrate
~and always provide a delightful maze to wander through.
Showing posts with label Vest. Show all posts

Saturday, February 9, 2013

The Black Sheep Peony

Some of you may remember my stormy relationship with The Peony. (aka Diane Ericson/ReVisions Peony Vest) I exposed the sordid details in these posts - after numerous fits and starts, we ended up by tying the proverbial knot.   Well, I'm sad to say that, although Mr. Peony still hangs around here, we never go out...he's just too...flashy.  Ill-fitting.  He's larger than life, and sometimes it's just all too much.

And then I met his distant cousin.   Who is, shall we say, the Black Sheep of the family.  I guess there's just a part of me that's still attracted to the quintessential bad boy.  What can I say.  I'm a sucker, as long as he's soft and cuddly and warms the cockles of my heart, and this black sheep does a good job of that.  :)

Here we are together:

Not only that, but he's willing to expose his soft side in public!
(Overexposed to show details better)
He has some rough edges, but then, don't we all?  I really like the honesty with which he's willing to display them :)

And a pocket, because some secrets really should be kept out of sight:

I really think that this relationship has a LOT more hope than the original peony:  (Not that I'm tied down completely - we have an open relationship. and #1 is open to some alterations that may make him more suitable for outings.....we'll see......)

The back story (aka, the nuts & bolts of how things came together):
A couple of years ago Fabric Mart had a pile of leathers & sheepskins at ridiculous (low!) prices, and although I tried to resist, I failed.   Both the orange pigskin of #1 and the 2 sheepskins for #2 came from that failed resistance.

The sheepskins were a bit small, so squeezing the pattern pieces on was a bit of a challenge.  (aside: Although I did alter the muslin & pattern pieces ahead of time, knowing that I needed to make them smaller, I was too lazy to actually sew them together & test the new sizing - I would have done MUCH better with layout had I done that.....hindsight.....Especially since I kept cutting the new vest down numerous times during the making)   *sigh*:

I have to say that I really had fun making this vest.   And solidified a few aspects of the type of sewing I enjoy the most:
  • Playing with design aspects during the making, as opposed to having it all figured out ahead of time.
  • Being able to cut and slice and alter at will, because of the forgiving nature of the fabric used; i.e., no worries about fraying & cut edges, mistakes can be easily hidden or incorporated into the design, and there isn't even a set and specific grain line to worry about!  
  • It's a "natural" fabric (animal rights advocates notwithstanding.....) but still has some forgiving stretch, which makes it relatively forgiving.
  • It's really easy to work with, and a pleasure to touch and feel.  :)
  • It was SO simple and easy to construct!  Although I like a challenge, doing something that doesn't even require opening the directions is such a pleasant change!
Which leads me to the construction.  Since I'd made this once before, and went through some hair-pulling sessions trying to get the lining to fit and hang right after a multitude of alterations (not to even mention all of the embellishments....no, we're not going to mention them...), I already knew how the pieces fit together, so I truly didn't even open up the direction sheet.   I just sewed up all of the vertical seams first, and stitched the seam allowances down, then fitted the shoulder seams last:
Binder clips are an awesome necessity
when working with natural skins!
No holes in the fabric, 

and they hold even the heaviest of fabrics together very well. :)

I ended up cutting in the armholes - a LOT - and even sliced off the side seams after (I thought) it was all done, taking in the sides by even more inches than I had originally.   The pattern sizing goes to XS - by the time I was done, I probably had an XXS.   (and no, I am NOT XXS!)

As far as construction details, I have to admit that I was more interested in having fun with this than in following detailed sheepskin cutting and sewing guidelines.  Since I planned on exposed seams, I didn't shave off the fur on the seam allowances, but I did trim it away along the seam line itself:
Note:  I was not anal about clipping along the exact seam line - this is basically eyeballed. It worked fine.   All that fur is VERY forgiving!
I used a Jeans needle and walking foot on Penelope, my Grande Dame 201, and she did a stellar job on the stitching.  I used "taut sewing" techniques, giving the fabric a bit of extra pull from the rear when necessary, since the skin & fur varied in thickness by quite a bit.  I did not use anything to keep the seams together as I sewed, I just practiced Slow Sewing and held my seams together by hand as I stitched. A bit of waviness in the seam allowances was not going to bug me on this one. :)

Oh, and one Absolutely Essential Tool when working with sheepskin is:   a hand vacuum.   Just leave it out, plugged in and ready to use, during the entire process.  You'll be using it a LOT!

The Results:
The Woman In Black


Closeups of the Closures:


Next up are a few necessary main course/protein/cake/whatever-you-want-to-call-them projects.  The necessaries.  Jeans.  Jammies.  Work Clothes.

Maybe I'll sneak a small bit of frosting in there now & then.   Because that's what I do.  ;-)

Meanwhile, Mr. Black Sheep and I are going to do a bit of grocery shopping. :)  Dressed as above - no jacket!   This is the first time in months!  The sun is shining here, and I'm seeing bulbs popping up, but not too much in the way of flowers in my garden yet...soon...real soon....  I've noticed that I seem to be sewing a bit more realistically lately, regarding seasonal sewing.  I've put away the last piece of wool that did not get made up into a coat, and I'm looking at Springish transitional clothing - I used to be SO far behind, starting wintery clothes in March...I think I'm learning!

Are the rest of you Northern Hemisphere sewists gearing up for Spring/warm weather sewing?  And are you antipodeans still enjoying and sewing your sleeveless garments?  Here's to Happy Sewing, whatever the season :)

Saturday, October 6, 2012

The One Piece Mini Wardrobe (Vogue 8263)

Some time ago, way back in August, I had Grand Plans.  Yes indeed, I was going to sew me another mini-wardrobe!  I had been so inspired by the Pattern Review mini wardrobe contest last year, and found that it really helped me plan out projects so that I didn't (continue to) end up with a closet full of orphans who simply do not play well together.  So when the contest came up again, along with an accompanying mini wardrobe sewalong for those of us who weren't quite up to the rules and regs of the official contest, I was in!

Or so I thought.

Fast forward, several weeks later, and I am happy to announce that, at last, one (1) of the planned pieces is finished!

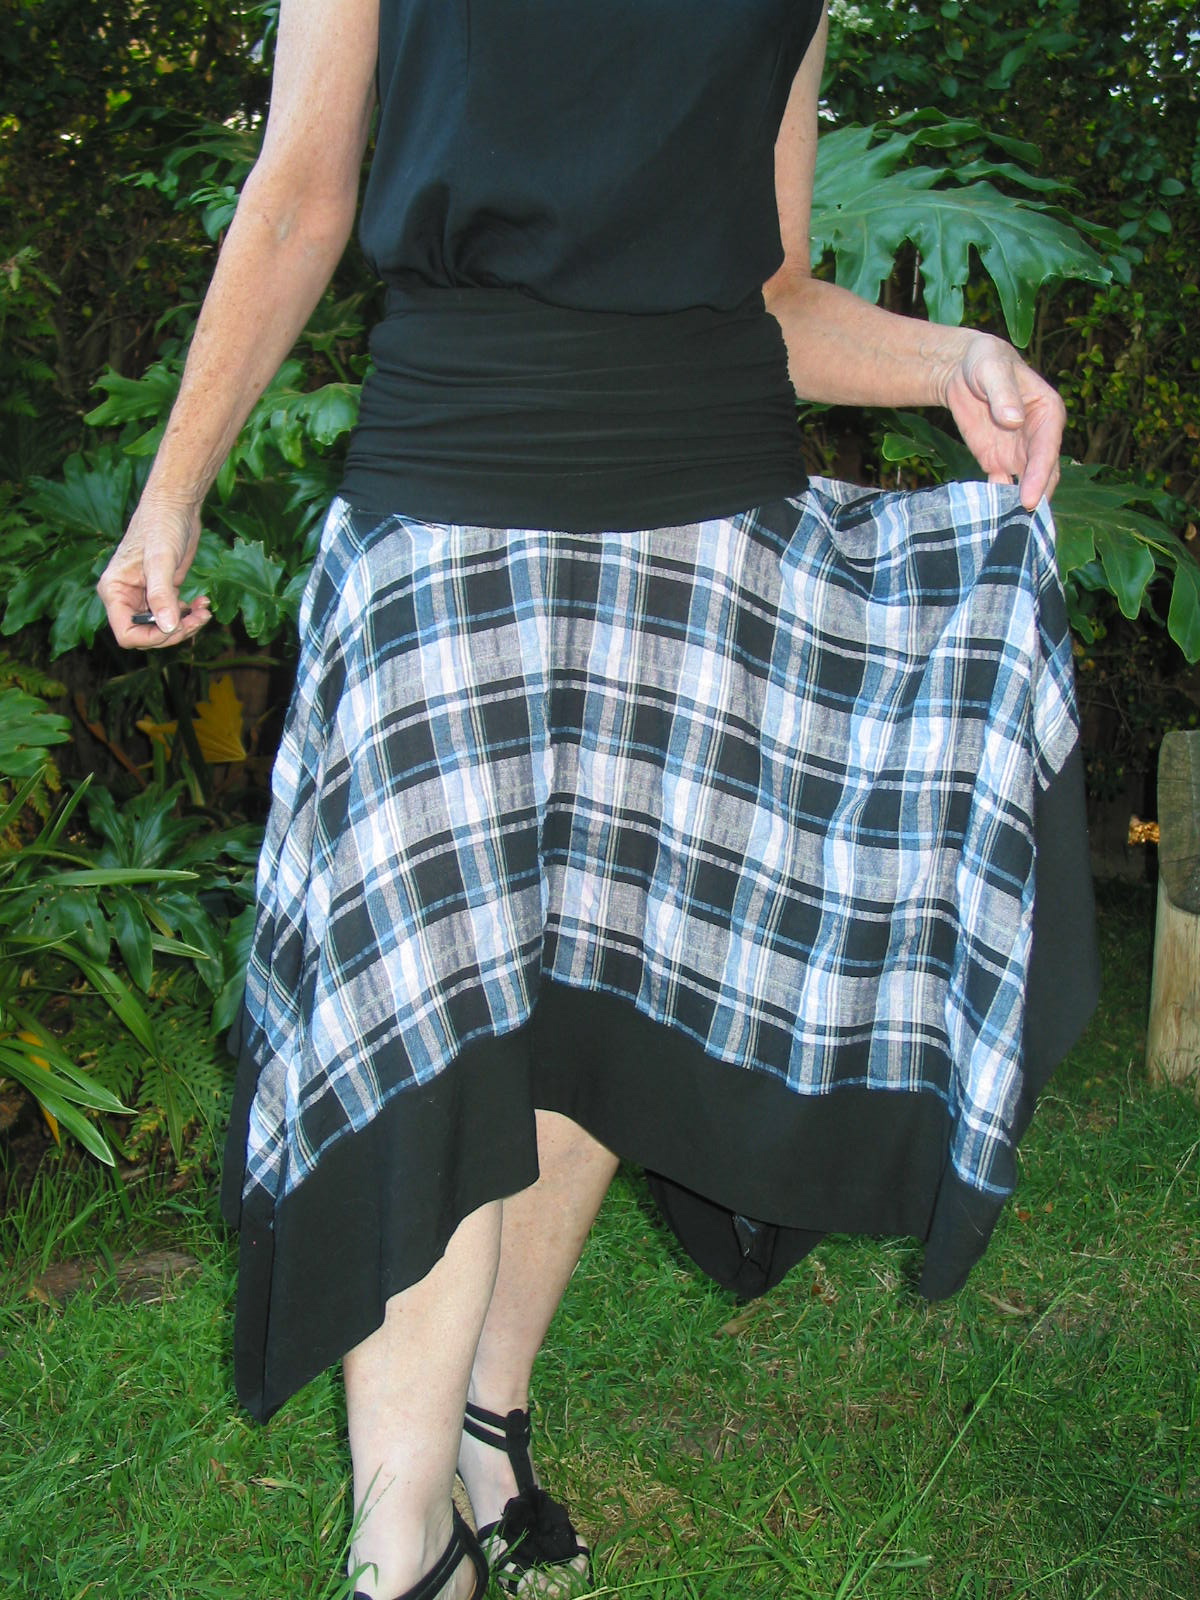
I needed a layered top for my "basklecloth" skirt, and had the perfect blue shade of silk noil in stash, but after one failed attempt at a match (the shirt was OK, just not paired with the skirt - wrong style totally), I decided a simpler pattern was in order, using the same fabric.
Enter Vogue 8263.   A simple jacket with clean lines, and although it's a bit conservative for my usual style, I thought that a touch of silk screening and the right button could make it all work for me.
I made up a quick muslin, did a few adjustments (my usual sloping, forward, narrow shoulders, created a bit more room in the upper arms, waist and hips.....  all was fine, so I cut it out in the silk.

Nope.   Didn't like it.   At all.   And yet.....once I removed the sleeves, I thought it would work very well indeed as a vest layered over a long sleeved shirt.
Yes, some definite possibilities here.  I added some patch pockets, and started thinking about embellishments to personalize it and make it a bit more "me"... I ordered some Marcy T silk screens that I thought would pair well with the skirt.   (Can you tell yet that this is already turning into one of my classic change-directions-seventeen-times-in-the-process-of-making-it projects?)

While waiting for the silk screens, life busy-ness arrived, sewing mojo departed, and the vest just sat, threatening to turn into a UFO.

Until one day last week, when I was welcoming some energy and "spare" time, and used it to clean up the sewing space.  One of my vintage ties had managed to plop itself on top of this vest, and little light bulbs started turning on.....  I went through the tie stash, looking for something that would help marry the vest with the skirt, found one, draped it over the neckline, and ended up with this:
I've now started to get a bit excited, and I've begun to welcome the sew-jo back. :)   I sewed down the tie, then decided to add a few buttons.   At this point I was liking the results, but the bottom hemline was looking a bit wimpy.  I had fully lined the vest, but I STILL have not mastered this whole lining thing, and this, couple with wimpy fabric, was causing the hemline to look a bit wonky.   Did I mention recently that I've never taken a sewing class?  It's time, it's so time.....

Anyway, I solved the wimpy hemline by adding a bias strip (ready-made, vintage from stash) along the edge, giving it some weight and a touch of interest with the strip of color.   I meant to take more in-progress photos, but late-night sewing combined with forgetful mornings and, well, photos didn't happen.

The vest was almost there....just needed a little something else...... I did end up adding a few touches of silk screen after all, and here's the result:
Some silk screening notes:
1.  I discovered, quite by accident, that you can squeeze the paint through from either side of the screen!  It makes sense, but for some reason I had thought it wouldn't work.   This is nice, because you can match reverse images if you want - yay!
2.  Thick blobby paints are not so easy to work with.  This also makes sense, but who has paint extender on hand when you need it?  Oh, everyone but me?   Well, it's on my shopping list now....
Back View.
I'm starting to learn the concept that less is more, at least sometimes....

Closeup of the tie and vintage button
This pattern has an in-seam buttonhole at the yoke.  I just wrapped and folded the tie around the buttonhole and stitched it down.  The button here is a vintage fabric covered button from stash.  Have I mentioned lately how much I LOVE my vintage button stash?

I removed the interfacing from both ends of the tie.   The extra oomph was fine at the upper collar edge, but it was too bulky for all of the folds and twists at the ends.

The tie, by the way,  is a Jerry Garcia design from the "Paris in the Rain" collection.  I scored a batch of his ties at a thrift store, and love the fabric designs on them!

The finished vest being worn:  :::Aside:  Doing the happy dance because I FINALLY found my camera remote, after delaying this post for a week because it was lost:::


Going for the "Yeah I'm short and I'm admitting it" look:


Fully lined - self fabric on yoke, silk from stash on back & sides:
A shout out to one of my favorite RTW manufacturers, Nomadic Traders Co.   The blouse and pants above are theirs, and their fabric is beautiful quality, as is the construction.  Sorry you can't see the detail, especially on the pants, but trust me, these clothes will last a very long time! Although I haven't bought any RTW since I started sewing (yay!), I used to never miss their twice-a-year sales at the Berkeley warehouse.   If you're local, and you like natural fiber, trendy-but-classic looks, be sure to check them out and get on their mailing list!  Note:  It looks like they do not have a website for the warehouse sales, nor do they advertise them; here's a link to the Yelp reviews: Nomadic Traders Warehouse

I still have a lot of ties (and I'm looking for more) and a lot of ideas about how to use them.   There are SO many upcycling possibilities out there....please please PLEASE keep me AWAY from the new fabric stores - I have enough!!!!

Oh, and btw, there are some rather fabulous entries in the PR Mini-Wardrobe contest - check them out!   (and if you've been a member for over 90 days, you can vote for your faves)

Here's to wardrobes, clothes that match, orphans that find families, and upcycling!   I welcome comments about any of the above - or anything else you feel like saying, for that matter... :)